Spring tasks have begun

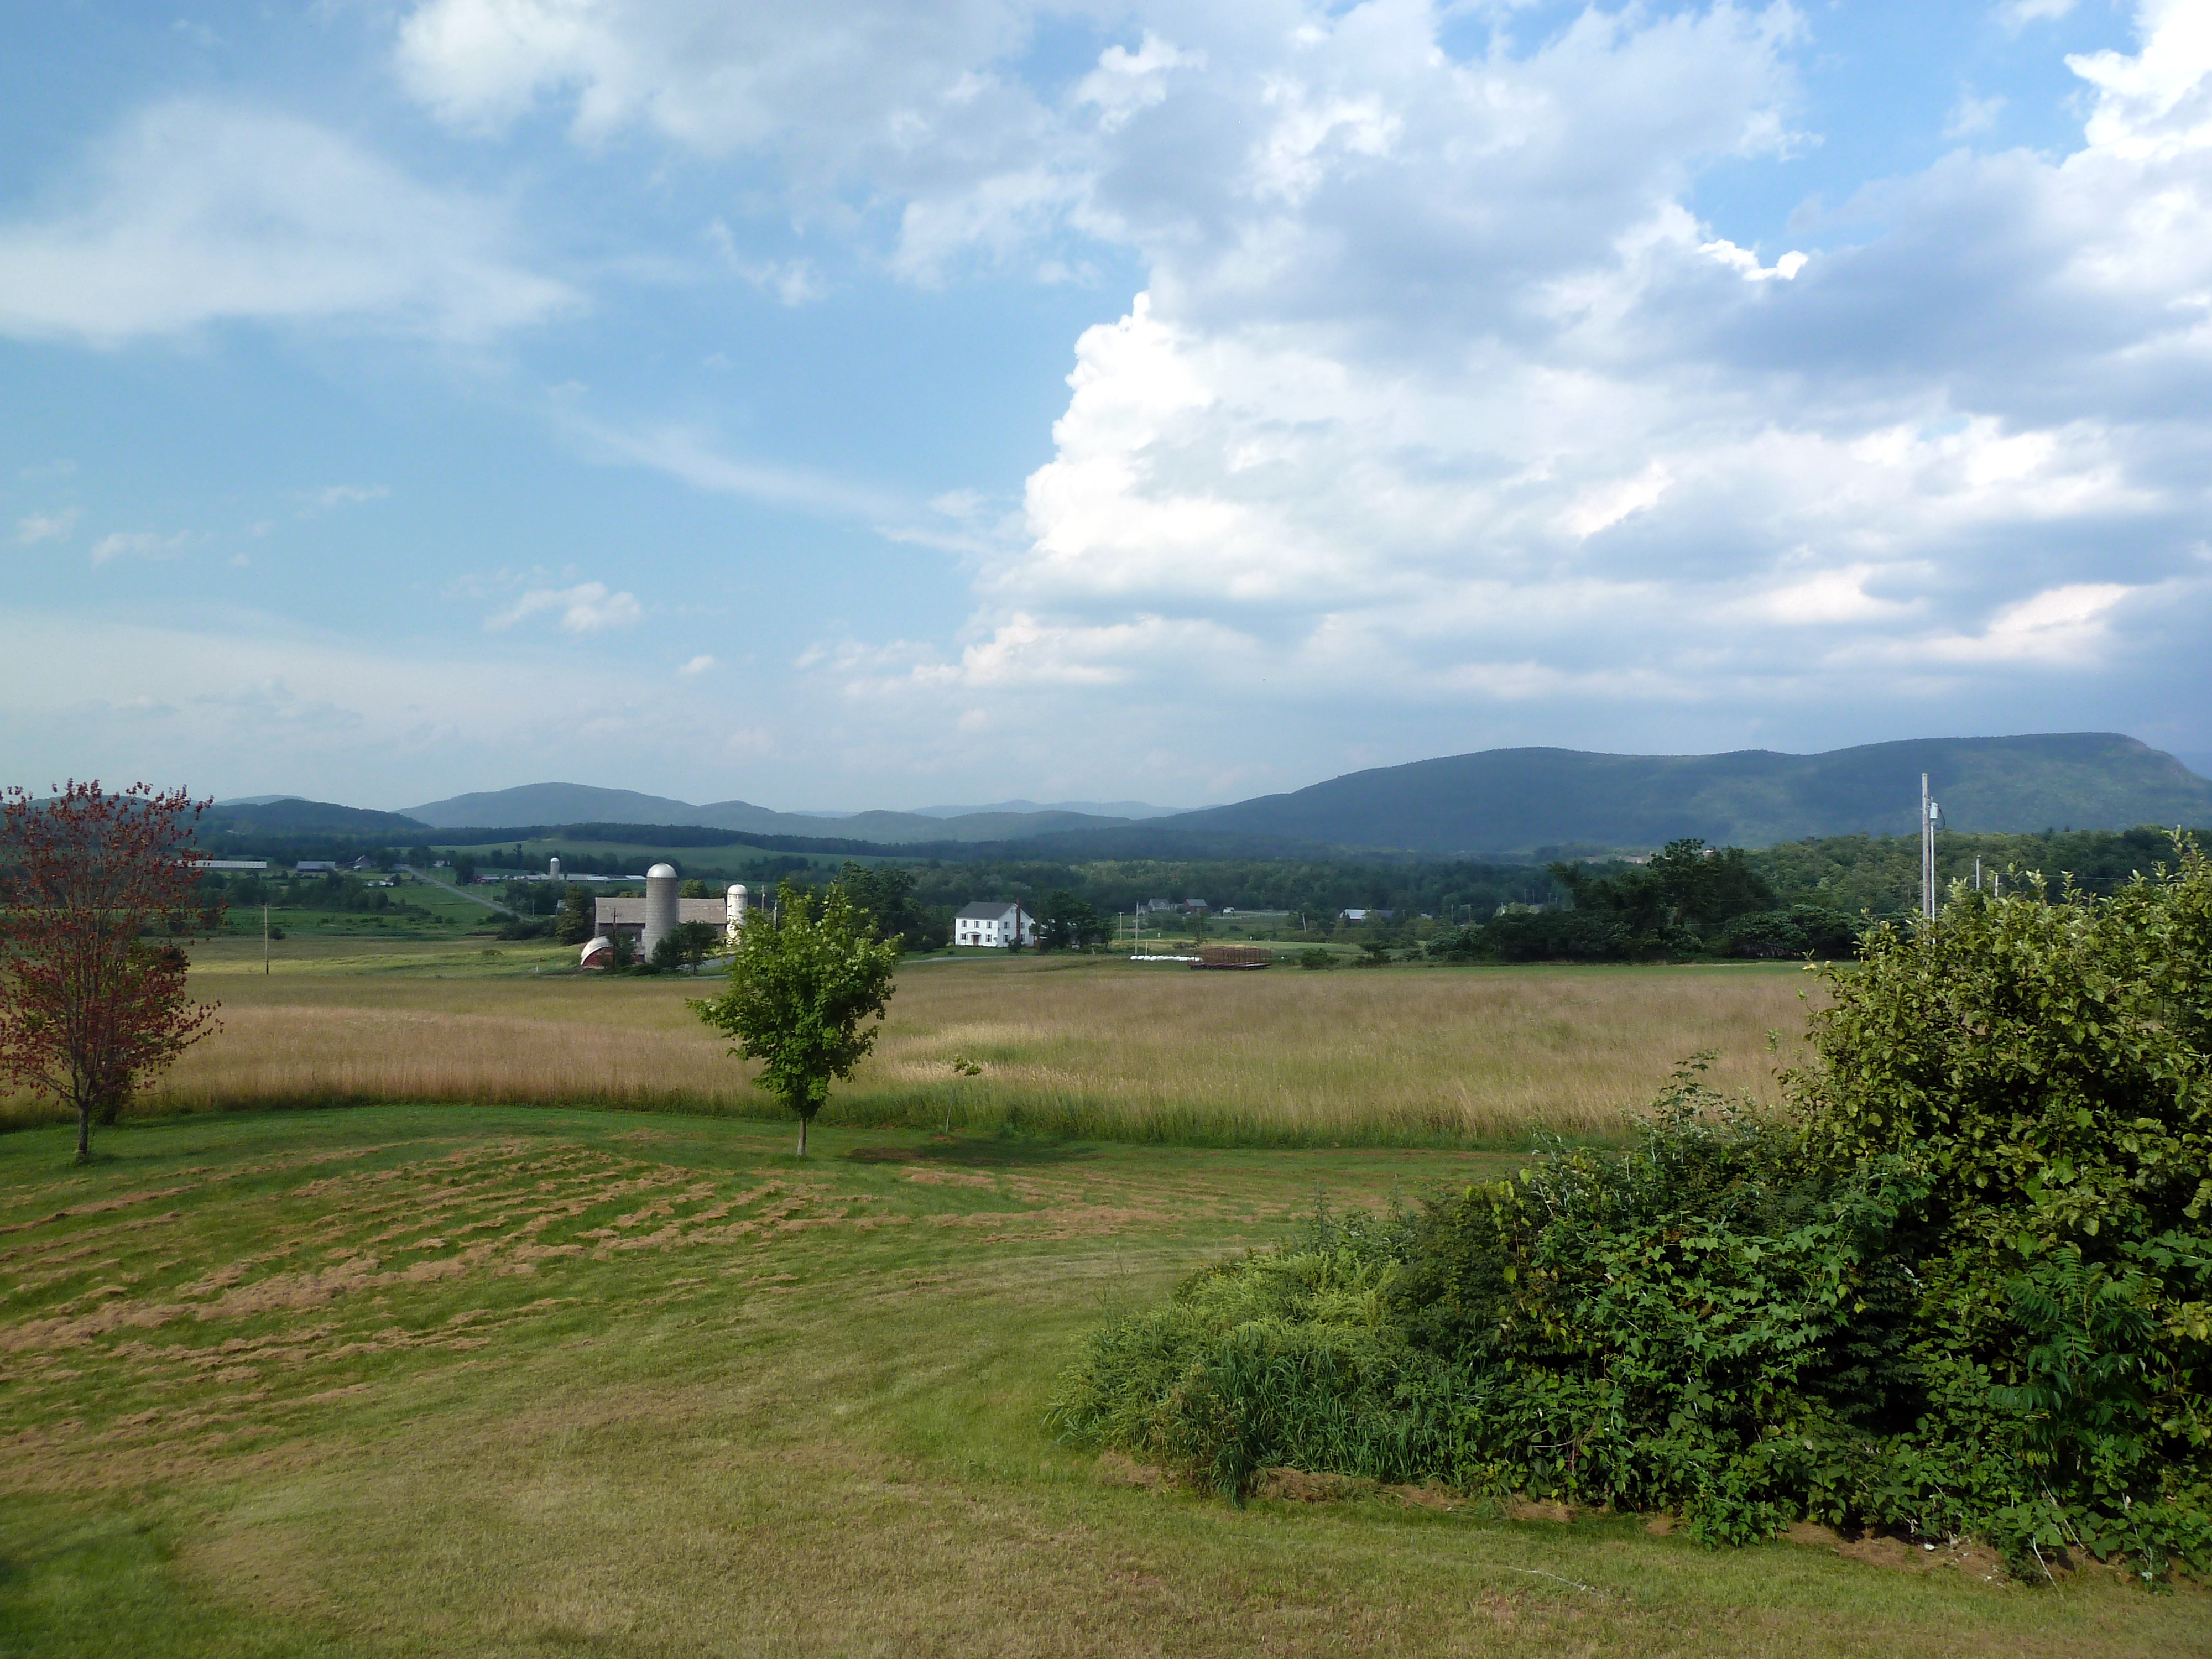
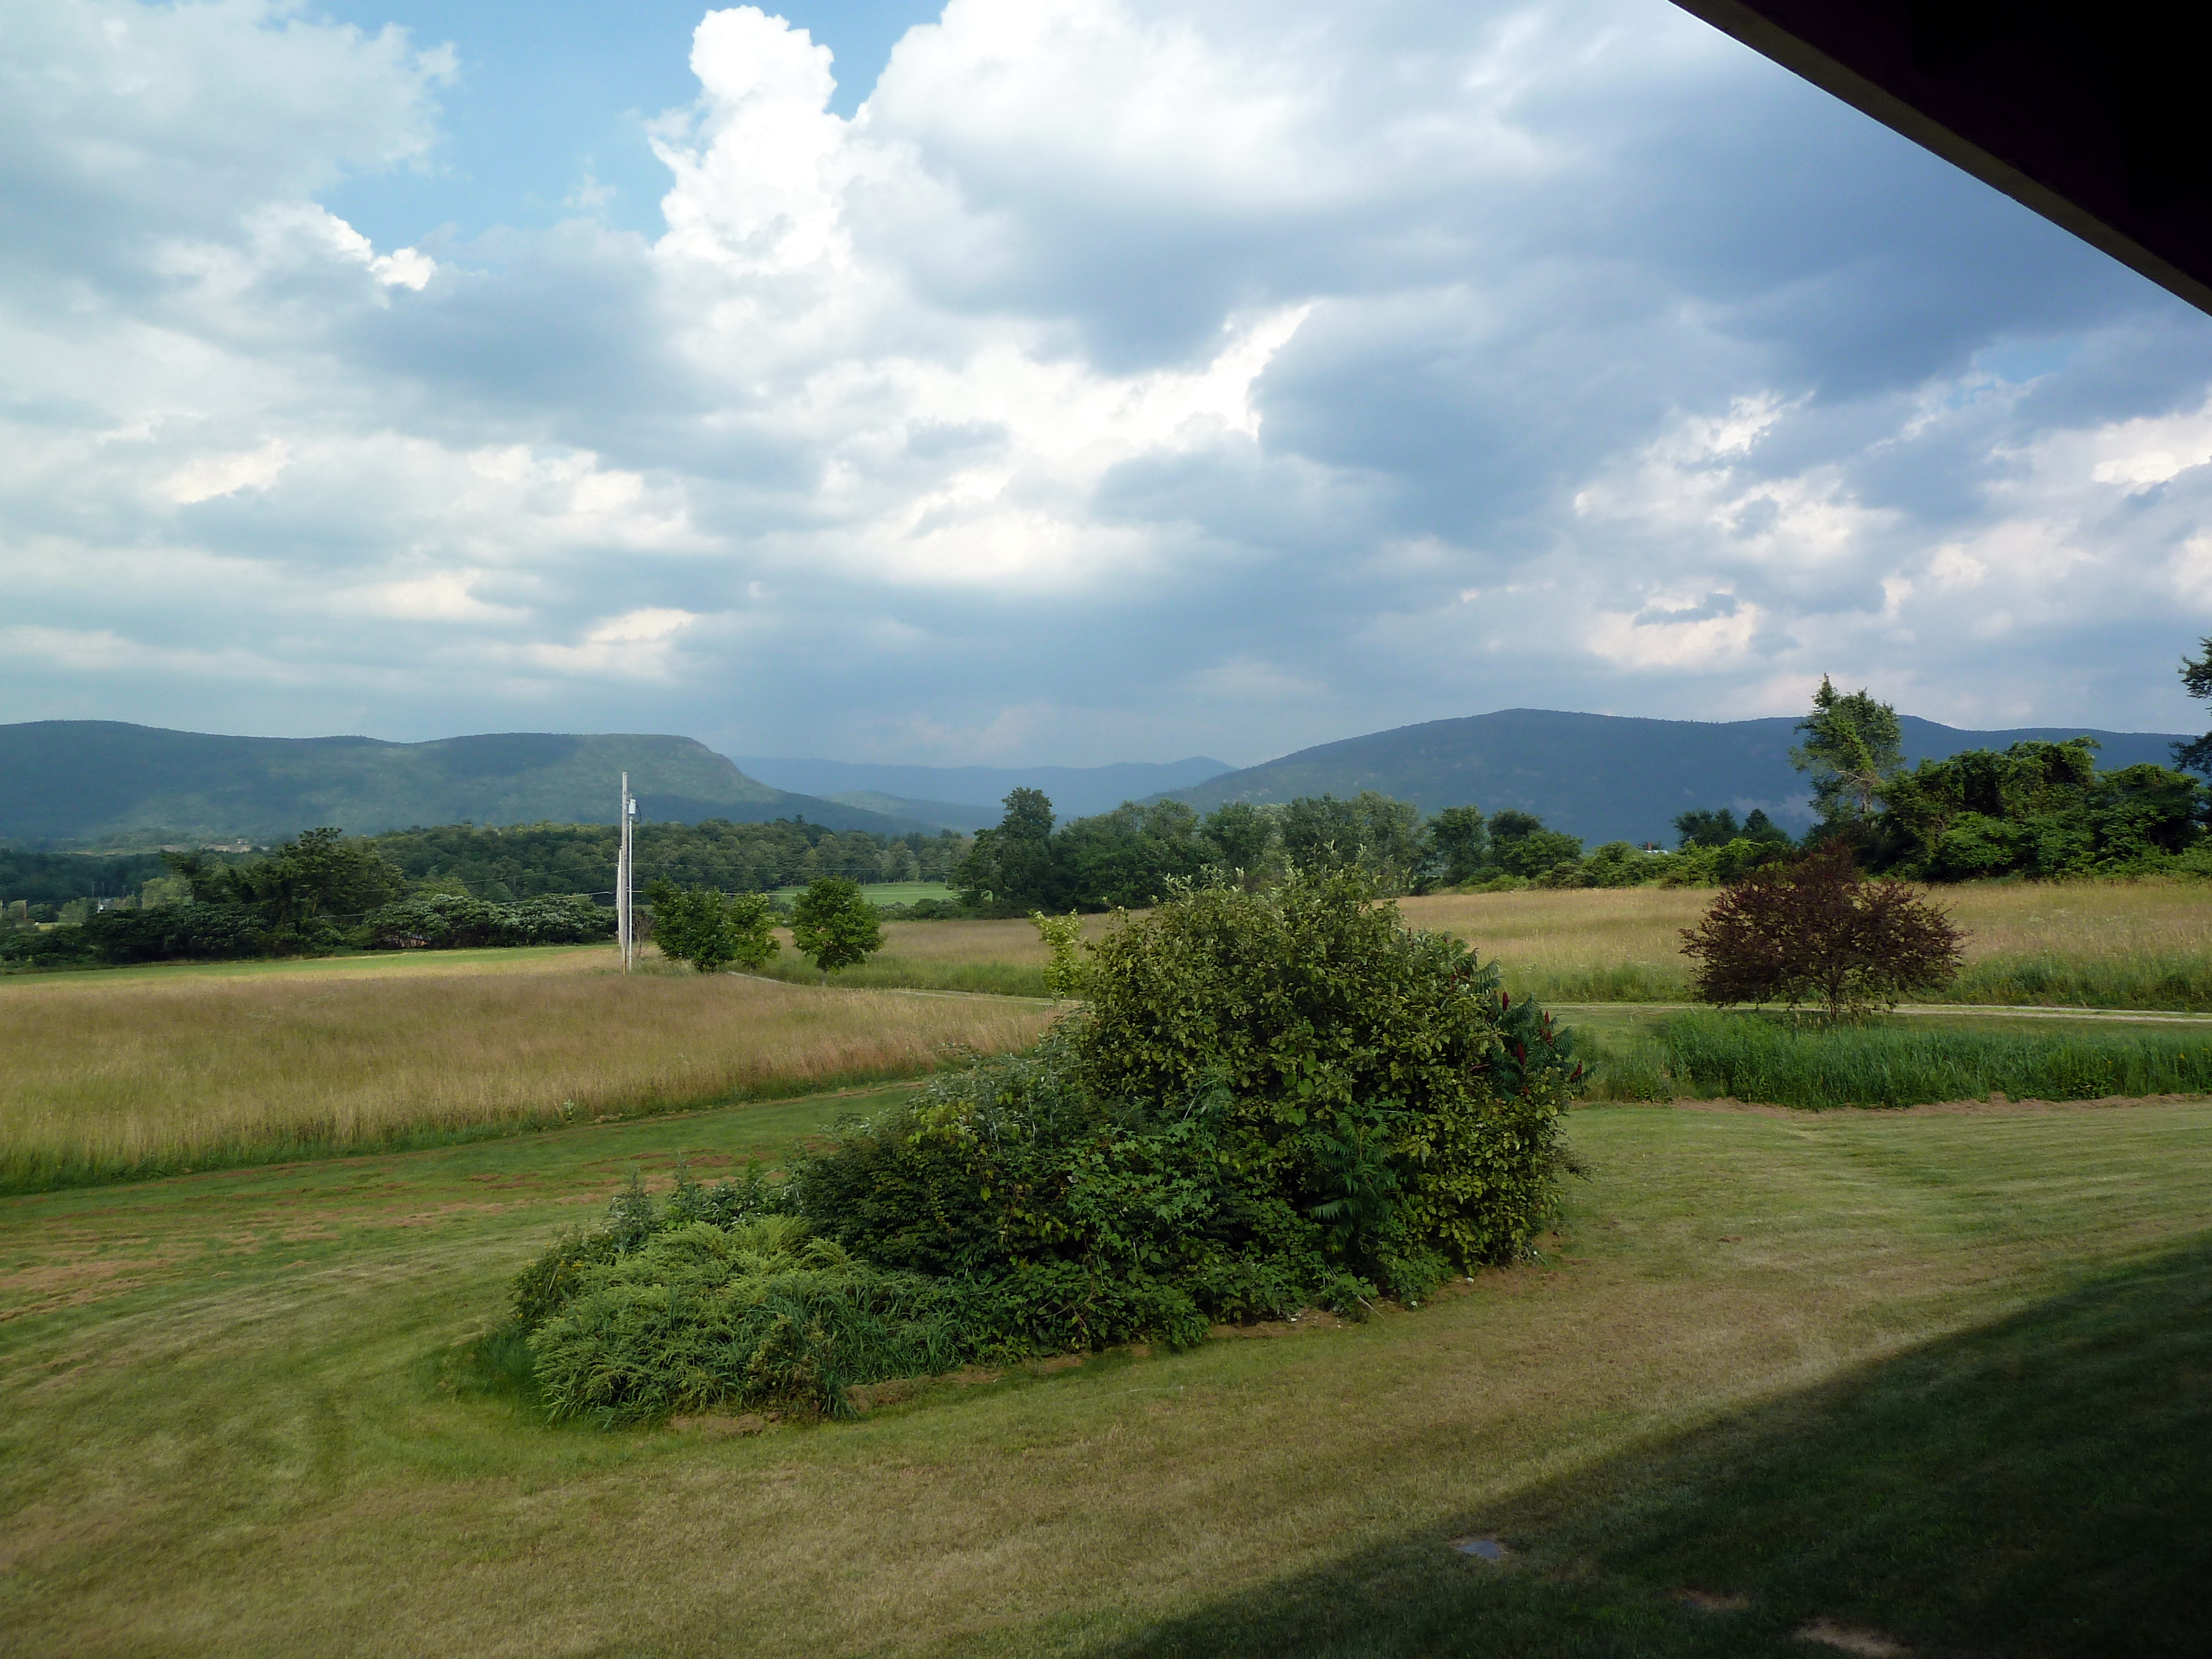
After a fairly nice spring week with temperatures in the 60s much of the time last week, it’s finally getting to the point where some outside work can start. This past weekend was a busy one.

One of the items on the agenda for this spring is to do some initial work on the landscape design we had created last summer. A week or so ago we got a bunch of diseased or badly shaped trees removed from the property. We have a lot of specific trees and spots in the plan, so it will be easier just to start over with exactly what we want. We’re planning to test a few evergreens for our windbreak and may also start planting along the driveway. I also ordered some smaller shade and decorative trees from Arbor Day just to see if I can get any of them to take off. They come very small and will take a long time, but the cost is significantly less than buying 3-4 year old trees. So we’re hoping to do a mix of more established plantings and let some things take a bit longer.

Another spot I am prepping this year is the front of the house. We plan to put up bushes in front of the porch (probably something like Red Twig Dogwood or Miss Kim Lilac). We’re also going to re-do the walkway from the drive to the porch and extend the perennial beds to flank both sides of the walk. I made a good dent in the prep over the weekend and here’s what it looks like so far.

Here is the spot for the revised walkway and perennial beds. The tulips are already poking up from a smaller bed against the house that we started when we moved here.

FrontPrep1

Here is in front of the porch. I’m trying cardboard on one side and using the tiller on the other side. Tiller is faster, but a lot more manual labor.

FrontPrep2

In addition, I’m moving an existing raised bed over to the other side of the garden and attempting to clear a spot for the small greenhouse I bought this spring. Unfortunately the ground is still very mucky and wet, so it’s still too sloppy to use as a base for a structure. Based on how our ground is, I’ll probably have to put down some stone and/or gravel to get a good base.

We also continue to get seeds and transplants into the ground, so far just cool weather loving plants like greens, brassicas, etc. The garlic and shallot are poking up above the soil. No asparagus yet and the strawberries are still mulched. Peas are getting sprouted indoors again and Ezra was excited to get to plant some of the snow peas this weekend. The herb spiral is now cleaned up and fresh soil added. Still not sure if some of the plants survived the winter, such as rosemary, thyme, sage and lavender. Hoping the heavy straw mulch did the trick.

Spiral

I put together one of the hop poles as outlined in the Planet Whizbang Idea Book for Gardeners by Herrick Kimball. I think it should work pretty well for hops at a backyard gardener level. If we ever get more into real hop growing, we’ll need real hop support poles. But this should be fine for now.

HopPole

The front garden is more dry than the back garden, but both are still too wet to plant. I tried to run the tiller on Saturday, but was only able to get a couple of runs in before giving up. It kept clogging up and it’s just not good for either the tiller or the soil when it’s like that. Got a couple of the dryer sections done though, so that will make room for a few things. We still have at least a month here before typical last frost, so no reason to rush. It’s supposed to turn colder again this week, but I imagine the week after that will be busy again as we have apple trees, cherry trees, raspberries and those Arbor Day trees all coming within the next month.

First time lapse video of pepper and tomato sprouts

As I mentioned in my last post, I’m working on a project with the Raspberry Pi 2 and one of the things I’m doing is playing around with the camera module.

This little camera is not bad (similar to a cell phone camera), but it definitely does best at a bit of a distance. Probably 6-10 feet at least. I need to be a bit closer to get enough detail and also due to the limited spacing between the grow lights and the seed trays. I ended up picking up one of those cheap little sets of lenses you can get for cell phones. It’s not going to win fine photography awards, but it’s just fine for my needs. The kit includes a fisheye, wide angle, macro and telephoto lens. Here’s a closeup of one of the lenses in place.

Lens closeup

My camera mount is a very primitive holder I threw together out of scrap wood, but it does the job.
Mount

Here is a wider shot of the seed starting area with the camera mount in place. I have it taking photos every 30 minutes of one of my pepper and tomato seed starting trays.
PiCameraSetup

Here is an initial time lapse video showing some of the seeds sprouting and growing. This was taken over the course of 5 days, March 26-30. I do change the camera position and seed tray position slightly, so it’s a bit jerky in spots.

Initial thoughts on the Raspberry Pi 2

Note: This is more of a technical post that I am also posting to my work blog, but since I am a software developer as well as a homesteader this is an interesting cross-section of my two worlds. Most farmers I know are tinkerers, inventors, DIY-ers and improvisers, so this fits right into that line of thinking.

When the Raspberry Pi first came out a few years back, it seemed like a very interesting idea in theory. A tiny computer for $35, completely self-contained, with built-in Ethernet, HDMI and a couple of USB ports. It peaked my interest briefly, but I never got around to trying it out.

Fast forward to 2015 and there’s a new model with a quad-core processor and more memory, which translates into better/faster video options and a lot more power in general. There are plenty of articles discussing all the ins and outs of the new model, but a couple of things made me take a look this time.

One, Microsoft has promised a version of Windows 10 (out in preview right now) that will run on the unit. This opens up all kinds of possibilities for someone who is already intimately familiar with the Windows development eco-system. I do love working with Linux, but the first part of this sentence is a lie. Guess I just lost any geek cred I was building up. I’ve dabbled in Linux on and off over the years and I think the biggest issue is that I’ve never spent enough time in it to get comfortable. So everything I want to do involves a trip to Google.

Two, my company Clarity is sponsoring a concept called Ship Days this year where each employee is expected to “ship” some little side project during the year. It’s pretty wide open, but could be a mobile app, an Internet of Things project or something you might see at a MakerFaire event. Suffice it to say I won’t be the only one taking a fresh look at the Raspberry Pi platform.

I’ve had the Raspberry Pi 2 for a couple weeks now and here are some random thoughts and impressions.

  • Since conception the Raspberry Pi fairly quickly became a hacker/tinkerers dream platform. That means there are all kinds of add-ons available, the set up process has gotten drop-dead simple and there are tons of tutorials, blog posts and ideas out there to peruse.
  • The Raspberry Pi 2 model mostly changed in how much power is on the board, so pretty much anything that worked with previous models will work with this one. In some cases you might need an adapter cable to hook up the proto boards or shields, but most stuff is fine.
  • The “NOOBS” set up experience gives you lots of options, including ones geared to specific uses like as a media center PC. I was up and running in no time on the most common distro (Raspbian) which is a version of Debian Linux.
  • The unit doesn’t really like hot-swapping USB very much. I managed to corrupt my first install pretty easily and had to start again. If I understand correctly, part of this is due to using the SD card as your main boot disk, which is much more sensitive to I/O disruption than a traditional hard disk.
  • There are tools that make is easy to pop your SD card into your main computer and make a clone of it when everything is working the way you want, so that is certainly a good idea when working with this unit.
  • The networking stack seems a bit flaky with wireless. I got the highly recommended Edimax nano usb adapter, but I’m still having trouble with getting the unit to respond consistently to SSH or RDP requests. I put in a job to restart networking every hour or so and that seems to have helped.
  • I got the Raspberry Pi camera module and it is extremely easy to work with. Right now I have it taking time-lapse photos of one of my seed starting trays. This tutorial worked great and it’s really simple to get working. More details on this in later posts.

All in all it’s an impressive little piece of engineering, particularly for $35. There are lots of possibilities for automation and monitoring that might be interesting to try on my little hobby farm. Many folks are already using a Pi or Arduino along with sensors to automate plant watering for instance. I bought a couple of moisture sensors that I’m hoping to get hooked up eventually, but as that requires some soldering it involves a bit more time to get up and running. I’m hoping to tackle that next.

Spring projects

After a long winter, it’s finally trying to become spring in Vermont.  I ended the winter and started spring with a laundry list of projects, since this will be our first spring on the new property. Fortunately we have a rather large unfinished basement, so I was able to set up a workbench down there and have some room to put together some things.

workbench

We decided we want a few ducks and while some people have good luck just keeping chickens and ducks together, I would prefer not to do that.  Ducks are a lot messier from a water perspective than chickens, so I decided to build a simple coop for ducks.  We hope to get a few sometime this summer. It’s a pretty basic little shed-type structure.

0502_DuckCoop

It’s mostly there except I do want to paint it and still need to do some predator proofing.

We’ve had our 4 chickens for a couple of years now and have decided we need a few more to really keep us in eggs.  The coop I built has worked well, but it is really maxed out at 4 hens. So I decided to build a small version of one of the open air concepts from Fresh-Air Poultry Houses: The Classic Guide to Open-Front Chicken Coops for Healthier Poultry.  This coop should hold up to about 12-15 hens, although we’ll probably just move up to 8 or so initially.  I’ve been building the stud walls in the basement and I’m starting to put it together outside now that the weather is getting nicer.  Here’s where that is at right now.  The design is interesting and will make more sense when you can see the whole picture.

0502_ChickenCoop_10502_ChickenCoop_2

Another smaller project is a simple bed for Ezra.  He’s not quite ready for one yet, but it won’t be long.  I decided to use these easy plans from Ana White, who has a lot of great DIY furniture ideas on her site.  The finish is going to be this interesting idea I’ve seen a number of folks mention online, which involves using steel wool partially dissolved in vinegar.  This basically reacts with the tannins in the wood, giving you kind of a distressed, old furniture look which gives 2×4 dimensional lumber more character than you would expect.  I’ll finish it with tung oil mixed with citrus solvent, which is another cool more natural way to finish stuff.  Interesting to see how it turns out.  Here’s the headboard without the finish.

0502_Bed

More pics of this stuff when they are finished.

In additional to these projects, we’re also trying to prep 2 fairly large plots, one for vegetable garden and one for more perennial-type items, such as strawberries, blueberries, asparagus and rhubarb.  Our property is extremely wet, with a couple of fairly consistent flows of water running through several sections of the property.  When we had our first big snow melt, it actually started washing out our lane and we had to get some emergency repairs done.  So it’s been a bit frustrating waiting for things to dry up since I also need to put up a clothesline and would like to build Ezra a sandbox.  And of course all the things we want to plant.  Fortunately we do have 3 raised beds going now, so we can get some things planted and we’ll just have to get a late start on some things this year.  There is only so much you can do the first year.

We found our plot

In all the busyness, I have neglected to post anything about our new property. On July 19th we closed on a 10 acre property in New Haven, one town over from where we are renting now in Bristol. The house is a nice size with plenty of room and not too old. It was built in 2000, so it’s just old enough to need some updating. The last owners moved to California about 5-6 years ago and it’s been rented ever since. So it’s in need of some TLC to get it looking the way we want, but we think the house and property has a lot of potential.

We’ve already gotten hardwood floors put into the living room and master bedroom. We’ve gutted the master bathroom, ripping out a corner whirlpool tub, the vanity and the toilet. Small closet in the room is getting demoed out as well. The whole place could use a fresh coat of paint, so we made a good start on that over the weekend between us and also some hired painters.

We may update the kitchen at some point, but probably need to wait on that. We would like to use it for a bit to determine exactly what we want to do. We are going to put a gas range in and replace the refrigerator at least. All the appliances appear to be original from when the house was built, so they are showing some age.

View from front porchP1010956

The property itself is mostly cleared, rolling pasture. The farmer next door is haying a lot of it one final time. We’ll be putting in a small garden plot or some raised beds immediately for a fall garden. Next spring I would like to set up 3-4 smaller garden plots and we’ll set up rotations through them over time. We also want to plant some berries, apples, asparagus and other perennials in the spring. May need some trees as well, particularly to get some windbreaks going. The house is up on the side of a hill overlooking the valley, which provides fantastic views, but is also likely to be windy.

Another view from front porchP1010958

Much more as we go, including some before and after room photos as we get updates completed. At this point we plan to move in early September.

Simple DIY mini greenhouse

Last year I was looking around for a small greenhouse I could use for seed starts and hardening off plants.  There are a number of small ones with a few shelves and a plastic cover.  When I saw how simple they were, I didn’t see the point in spending the money.

8699832316_6b144ae143

We already had a few of the wire rack shelving units that you can buy at a lot of places like garden/home supply stores, Target, etc.  I was already using one to start seeds in the basement, so I knew the general layout would work.  So I just bought some greenhouse plastic and basically wrapped one of those racks.  I fastened the plastic to the rack using wire along the vertical supports.  The plastic is thick enough to hold for the most part, although obviously it tears a bit over time.  It doesn’t have a nice zippered front on it, but other than that it’s the same principle and costs a lot less.

I used it a bit last year, but did have some issues with wind on our front porch.  This year I have a sandbag on the bottom rack and some clothesline fastening it to the porch railings.  That seems to do the trick as we’ve had some pretty good wind storms since I put it up this spring.  So far so good.

8699837282_901a52889a

It’s working really well to start cold hardy plants and I’m also hardening off other plants that I’m starting in the cellar.  It gets nice and warm in there and doesn’t seem to dry out too fast.  The other trick I added this year is some foil covered insulation board to reflect more light from under the starting trays.  I’m also doing this in my basement underneath the heated seed starting mats I have and it seems to make a real difference.

8698717751_e649e1b72d

Woodshop 101

When we first starting thinking about getting some land and possibly farming, one of the things I quickly realized is the importance of knowing how to do things for yourself.  A farmer needs to be a bit of a jack of all trades.  Honestly, knowing how to get around on a computer is a relatively minor one of those trades.  So I’ve been slowly trying to learn how to do some practical things for myself and one of those things is light carpentry and woodworking.

I didn’t get much opportunity to do that in Chicago.  There just wasn’t enough room for a shop or lots of tools or much to really work on in a small condo.  I was able to help a few friends with some remodeling here and there, which helped a bit.  Once we got the house in Bristol and I had the possibility of actually having a small shop again, I started to think about what kinds of things I could start with.

I decided to do two projects. Instead of buying a wheelbarrow or a cart, I would build one. And I would try to build a small chicken coop for a backyard flock.  I already had a good idea of what kind of cart I wanted to build, Herrick Kimball’s “Whizbang Garden Cart”.  Mr. Kimball has several great blogs about agrarian life and various DIY projects.  I discovered him over the course of various research I was doing into all things farm-related while in Chicago. 

cart2

This cart is modeled after the “Garden Way” carts that were popular for years in New England, but it’s made out of simple materials and a fairly easy starter project for a beginner like me.

cart1


Figuring out what kind of coop I wanted to build turned out to be a bit harder than I expected.  I even bought a couple of books specifically about coop designs and plans, but nothing was quite what I was looking for.  Many of the plans would be great if I wanted to build something permanent or I was going to get 10-20 chickens or more.  The smaller coops were too simple and would require fencing in a large run or they simply weren’t robust enough to keep chickens in through the winter.  So I kept looking.  I can’t remember where I finally found the plans I ended up using.  I believe it was through the Backyard Chickens web site.  I decided to go with the plans from theGardenCoop.com

coop1

They have both a small coop design for 3-4 chickens and a larger design.  I like both of them a lot and may end up building the bigger plan at some point as well.  These plans weren’t free, but they were reasonable given the quality and attention to detail in the plans as well as the thoughtful design.  They are once again very step by step and don’t assume a lot of advanced carpentry knowledge.  There are even nice general carpentry tips thrown in along the way.

coop2

I won’t go into all the boring details of building these, but I certainly did learn a lot.  It’s amazing how much you can learn just from simple projects. A few things I did for the first time or learned about include:

  • using a circular saw
  • doing long cuts of plywood with a circular saw
  • angle cuts (I still suck at these)
  • more about using a drill (pilot holes, using spade bits, drilling holes in metal, running to the hardware store “one more time” to get a bit size I didn’t have Smile )
  • very basic framing
  • different ways of checking for square
  • ways to put things together and connect things when working alone
  • installing polycarbonate roofing panels

coop3

These projects probably took me about 10 times longer than any reasonably competent carpenter, but it was still very satisfying for me to see these projects through and be able to enjoy the end result.  I’m also thankful for helpful lumber yard, hardware and metal shop folks who were willing to assist and answer beginner’s questions, as well as my carpenter friends here in Vermont who offered tips, loaned me tools and did some table saw cuts for me.

Now just need some chickens, which we are hoping to remedy tomorrow…

coop4

5 Lessons from sausage making

A few weeks ago I finally had a chance to make some more sausages.  I had been wanting to try some poultry sausages, for a couple of reasons.  They can be a bit healthier (although you still have to add a lot of fat), the flavors are more neutral (thus allowing for more creativity and variety in flavoring) and the meat tends to be a bit cheaper as well.  This was also my first time using my new sausage stuffer and using casings. You can read about my first attempt at making fresh pork sausage in an earlier post.

I decided to make two different sausages from the Ruhlman Charcuterie book.  One is a turkey sausage seasoned with Thankgiving-style spices (cloves, cinnamon) with dried cherries and some red wine.  The other is a chicken sausage flavored with white wine, olive oil, sun-dried tomatoes and various herbs.

readytosmoke

Here are a few things we learned from the process.

1. Drumsticks are cheap, but a pain to prep
I decided to use mostly drumsticks since they are such a cheap cut of meat.  We have a local poultry farm just up the road where I can buy directly in bulk.  I got a bunch of turkey drumsticks for just a few dollars per pound.  For the chicken sausage, I had drumsticks and thighs.  The problem is, if your time is valuable you will use up any savings in buying drumsticks with the time it takes to cut and prep the meat.  Drumsticks are great finger food fresh from the grill, but there is a reason you don’t see boneless legs at the supermarket.  They have a lot of tendons and ligaments you have to cut out and around.  And you don’t really get a lot of meat in the process.  The turkey drumsticks are better because they have a lot more meat, but the tendons are thicker and tougher so it’s a bit of a wash.  I don’t think I would use them again for sausage, although I love the flavor and price.

2. You might want to skin the fatback first.
Poultry meat doesn’t have a lot of fat and you really do need fat to make a good sausage.  So typically you will add some extra fat and pork fatback is a great solid fat that works well.  I got my fatback from local farmers raising pastured hogs and it’s beautiful stuff.  But I started cutting it up without thinking about the fact that it still had the skin on.  Sometimes you want the skin on when you are cooking certain cuts because it cooks up nice and crispy.  But not for sausage and it’s a pain to cut skin off a bunch of little pieces of diced fat.  Ask me how I know….. Much easier to skin the whole thing first.

3. If stuffing is overly hard, you’re doing it wrong
This was the first time I had tried stuffing sausages and I figured it would be a bit tricky. I got a decent 5 lb. vertical stuffer, so I have good equipment for small batches. I used standard natural casings in the medium size that is most commonly used.

stuffing

Preparing to stuff

Going to have to tell on myself a little bit here. By the time it came to stuff the first batch, it was pretty late on a Friday night and I wasn’t too with it anymore.  So I didn’t bother reviewing the right way to use the stuffer.  I asked Kristin for help and started the stuffing.  It would go along fine for the length of a couple of links and then pressure would start building up and the casing would split. We were both getting very frustrated and Kristin actually tried to tell me I should try it a different way, but I didn’t get what she was saying.

So the next day I decided to go online and figure out if I was doing something wrong.  Sure enough, that was the problem. Here’s what I was doing.  I was feeding just a bit of the casing on the tube and then trying to push the mixture down through the casing.  WRONG! You are supposed to put the WHOLE casing on the tube, tie off the end and then let the mixture feed in and push the casing off the tube. Works so much easier when you do it right.  We tried this on the second batch the next day and it was a world of difference. We stuffed the entire casing with no issues.

tieingTying off sausages after stuffing

4. Food dehydrator works well for pre-drying before smoking.
When you get ready to smoke something, you want the surface to be pretty dry and a little tacky. Basically the smoke needs something to stick to.  You can hang the sausages up for awhile at room temperature or inside a fridge or drying chamber.  There are various ways.  I was looking for a shortcut and we already have a food dehydrator.  So I got the thought that maybe I could use that to speed the process.  Checked online and apparently some other folks have tried this as well and it seemed to work.  So I gave it a shot and I think it worked pretty well.  You have to keep the temperature down and keep an eye on them, but I was pretty happy with this method.  We have the American Harvest square dehydrator with temp control and I like it a lot.

stuffedReady to Dry

5. Don’t do too much at once.
Since sausage making is pretty time consuming, it’s good to do a bunch at a time.  But doing two different 5 pound batches is a bit challenging, particularly when you are stuffing and smoking all of it.  And when I was smoking the sausages, I really had the smoker way too overloaded.  Some sausages got too hot and others were a bit slow. Not enough airflow and it was difficult to get them all up to temp.  So if I did it again, I would probably just smoke some of them and keep the rest as fresh sausages.


So all in all, I learned a lot from this round of sausage making.  And the sausages turned out great, although I think we like the chicken ones a little better.  They are right up there with some of the really good ones I’ve had like the Aidell’s version.  Not sure what we’ll try next, but each time the process seems to make a little more sense and go a little more smoothly. 

Here is the finished product:

finished2

finished

The mushroom project

One of the foods I really love is mushrooms of various types, so I’ve been wanting to try to grow some of my own.  This is actually a project I started in March, but haven’t had time to post any pictures until now.  I actually tried growing some shitakes and oyster mushrooms indoors with varying success.  You definitely have to stay on top of them, so I was looking for something a little lower maintenance.  After all, if you take a hike in the forest they are everywhere, although maybe not always ones that you can eat.  Speaking of that, foraging for wild mushrooms is another thing I would like to learn how to do.  There are definitely folks around here who do it, but that’s the sort of thing that’s best learned from someone else.

Anyway, I decided to try inoculating some logs with mushroom plugs and see how well that works. There are various sources of mushroom supplies online, but I like Fungi Perfecti.  It was started by mycologist Paul Stamets, who literally wrote the book (several of them) on growing mushrooms.

My landlord is also interested in this, so he supplied some logs to start out with and we are going to share the logs once they get fully populated.  The logs have to be fairly fresh, not too large in diameter and most edible mushrooms that use a wood growing medium generally like hardwood.  Some mushrooms have favorites where they seem to perform best, although often there is a range of types that will work.

P1000935

The process is basically to drill a ton of holes in the logs and pound these wooden plugs into the holes with a mallet.  It’s pretty time consuming, but the nice thing is if the logs “take” and the mushroom spawn fully colonizes the log, they can produce mushrooms for 3-5 years or more.  I’m mainly trying shiitakes and I also did a few logs with Lion’s Mane.

P1000945P1000937P1000939

After the logs are plugged, they go into a colonization stage where you water them occasionally and wait for at least 6 months or so for the mycelium to take over the log.  Then you can put them outside “planted” upright in a shady damp place and hopefully start harvesting mushrooms here and there as they go through regular flushes of growth.

P1000946

I had a good supervisor, so hopefully things will turn out great.  This is another one of those things where you start something and hope it turns out.  In that way it’s much like garlic or beer or cheese or any other number of great things that are worth waiting for.

First attempt at making sausage

I’ve been wanting to start learning how to make charcuterie (sausage, cured/smoked meats, bacon, etc.) as part of our overall trek towards growing and creating as much of our own food as possible.  We also may raise our own hogs at some point.  I got the Michael Ruhlman Charcuterie: The Craft of Salting, Smoking, and Curing book for Christmas and have been going through that for ideas.  I also bought Home Sausage Making: How-To Techniques for Making and Enjoying 100 Sausages at Home which is interesting for the sheer volume of ideas. Although vegetarian sausage?  I don’t think so, at least not for me.

I’ve been talking to a couple local pastured pork farmers about getting the raw materials.  The other night I took a trip over to Maple Wind Farm, about 20 minutes from here.  I picked up a whole pork belly that was just beautiful, a little over 8 lbs. and nice and thick.  Also grabbed two smaller pork shoulder roasts, which are really nice for making sausage.  The fat content is about 30% naturally, particularly when you buy heritage pastured breeds, which is perfect for sausage.  They had just gotten some lamb back from the butcher, so I got some of that as well.  Certainly more expensive than super market meat, but for good reason.  Better breeds, better feed, better living conditions and a lot more care goes into the animal husbandry.  It’s money well spent to me, both to know exactly what I’m getting and the quality of the meat.  If you are going to go to the trouble of making your own charcuterie, you want the highest quality meat you can get because the end result is only as good as the raw materials.

I made my first batch of about 3 lbs. of sausage last weekend, using the basic breakfast sausage recipe from the “Charcuterie” book.  It’s an interesting recipe, full of lots of fresh ginger, sage and garlic. You end up with a very clean tasting sausage, full of lively flavors.  I’m not sure I want it all the time as I like a spicier, more peppery sausage most of the time, but it turned out to be quite tasty.

Here are some pictures of the process.

P1000898

A few years ago we found an antique meat/food grinder in New Glarus, WI.  I think it is World War II era as the instructions mention a certain part is not available during the war (I guess due to metal rationing).  Kinda cool. One reason I bought it was the possibility of making sausage, plus I really love old kitchen tools. Particularly ones that don’t require electric.

P1000899

Everything you use has to be super cold, including the grinder if possible.

P1000902

The grinder set up and ready to go. You grind into a bowl or tray that is set in ice.  Once again, think cold, cold, cold.

P1000903

The season mixture, cubed and ready to grind.  This has been in the freezer as well until starting to get a bit icy, but not frozen.

P1000905

The primary bind, where you add just a bit of ice water to bring it all together.  As you can see, the grinder didn’t do a terribly fine grind.  I was a bit worried about this, but it came together just fine. A bit smaller would be nice, but this works.

P1000904

Quality control. It’s good to fry up a taster portion just to make sure the spices are where you want them.  You can still add a bit more spice or other ingredients at this point.

So now that I understand the basic process a little bit, the next step is to try stuffing the sausage into casings and try some other recipes.  There is a chicken sausage recipe that looks awfully good…