Woodshop 101

When we first starting thinking about getting some land and possibly farming, one of the things I quickly realized is the importance of knowing how to do things for yourself.  A farmer needs to be a bit of a jack of all trades.  Honestly, knowing how to get around on a computer is a relatively minor one of those trades.  So I’ve been slowly trying to learn how to do some practical things for myself and one of those things is light carpentry and woodworking.

I didn’t get much opportunity to do that in Chicago.  There just wasn’t enough room for a shop or lots of tools or much to really work on in a small condo.  I was able to help a few friends with some remodeling here and there, which helped a bit.  Once we got the house in Bristol and I had the possibility of actually having a small shop again, I started to think about what kinds of things I could start with.

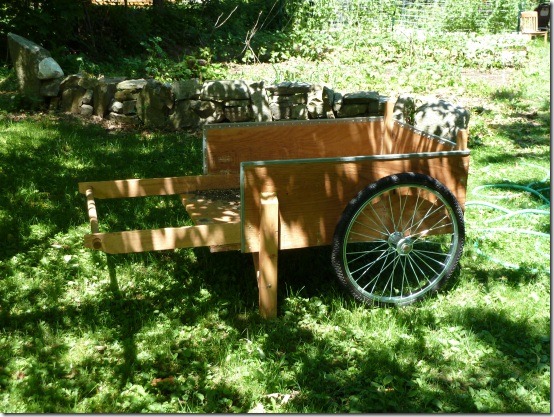
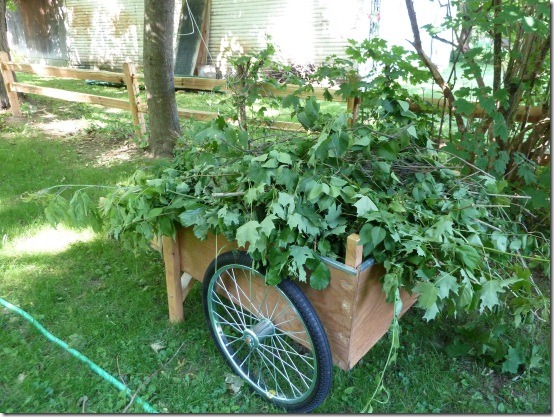
I decided to do two projects. Instead of buying a wheelbarrow or a cart, I would build one. And I would try to build a small chicken coop for a backyard flock.  I already had a good idea of what kind of cart I wanted to build, Herrick Kimball’s “Whizbang Garden Cart”.  Mr. Kimball has several great blogs about agrarian life and various DIY projects.  I discovered him over the course of various research I was doing into all things farm-related while in Chicago. 

cart2

This cart is modeled after the “Garden Way” carts that were popular for years in New England, but it’s made out of simple materials and a fairly easy starter project for a beginner like me.

cart1


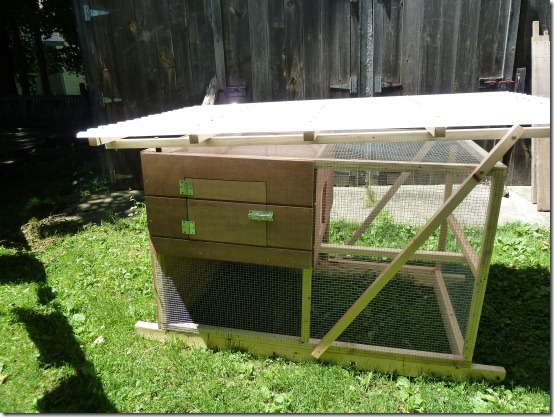
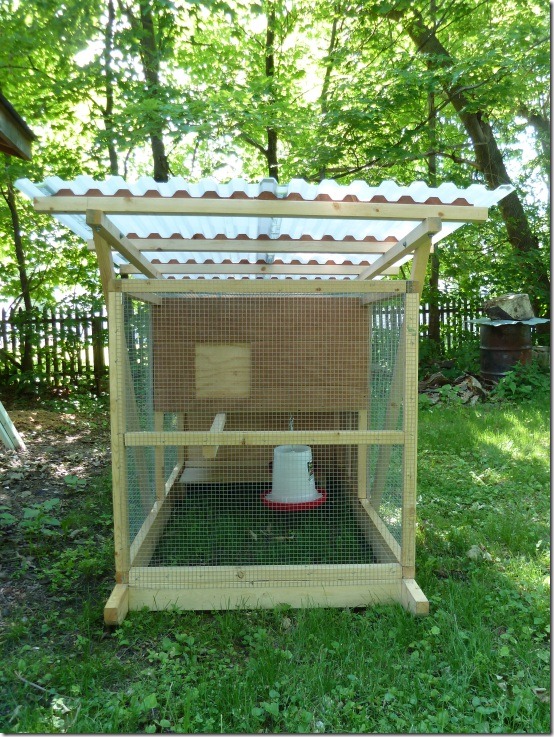
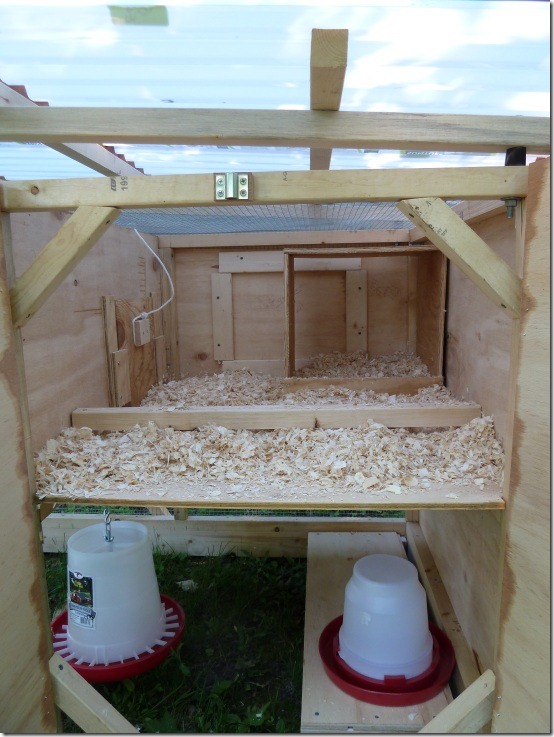
Figuring out what kind of coop I wanted to build turned out to be a bit harder than I expected.  I even bought a couple of books specifically about coop designs and plans, but nothing was quite what I was looking for.  Many of the plans would be great if I wanted to build something permanent or I was going to get 10-20 chickens or more.  The smaller coops were too simple and would require fencing in a large run or they simply weren’t robust enough to keep chickens in through the winter.  So I kept looking.  I can’t remember where I finally found the plans I ended up using.  I believe it was through the Backyard Chickens web site.  I decided to go with the plans from theGardenCoop.com

coop1

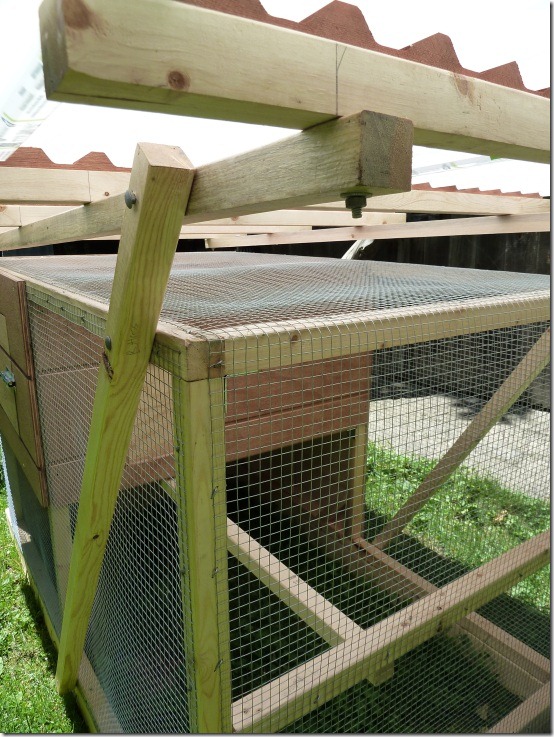
They have both a small coop design for 3-4 chickens and a larger design.  I like both of them a lot and may end up building the bigger plan at some point as well.  These plans weren’t free, but they were reasonable given the quality and attention to detail in the plans as well as the thoughtful design.  They are once again very step by step and don’t assume a lot of advanced carpentry knowledge.  There are even nice general carpentry tips thrown in along the way.

coop2

I won’t go into all the boring details of building these, but I certainly did learn a lot.  It’s amazing how much you can learn just from simple projects. A few things I did for the first time or learned about include:

  • using a circular saw
  • doing long cuts of plywood with a circular saw
  • angle cuts (I still suck at these)
  • more about using a drill (pilot holes, using spade bits, drilling holes in metal, running to the hardware store “one more time” to get a bit size I didn’t have Smile )
  • very basic framing
  • different ways of checking for square
  • ways to put things together and connect things when working alone
  • installing polycarbonate roofing panels

coop3

These projects probably took me about 10 times longer than any reasonably competent carpenter, but it was still very satisfying for me to see these projects through and be able to enjoy the end result.  I’m also thankful for helpful lumber yard, hardware and metal shop folks who were willing to assist and answer beginner’s questions, as well as my carpenter friends here in Vermont who offered tips, loaned me tools and did some table saw cuts for me.

Now just need some chickens, which we are hoping to remedy tomorrow…

coop4

5 Lessons from sausage making

A few weeks ago I finally had a chance to make some more sausages.  I had been wanting to try some poultry sausages, for a couple of reasons.  They can be a bit healthier (although you still have to add a lot of fat), the flavors are more neutral (thus allowing for more creativity and variety in flavoring) and the meat tends to be a bit cheaper as well.  This was also my first time using my new sausage stuffer and using casings. You can read about my first attempt at making fresh pork sausage in an earlier post.

I decided to make two different sausages from the Ruhlman Charcuterie book.  One is a turkey sausage seasoned with Thankgiving-style spices (cloves, cinnamon) with dried cherries and some red wine.  The other is a chicken sausage flavored with white wine, olive oil, sun-dried tomatoes and various herbs.

readytosmoke

Here are a few things we learned from the process.

1. Drumsticks are cheap, but a pain to prep
I decided to use mostly drumsticks since they are such a cheap cut of meat.  We have a local poultry farm just up the road where I can buy directly in bulk.  I got a bunch of turkey drumsticks for just a few dollars per pound.  For the chicken sausage, I had drumsticks and thighs.  The problem is, if your time is valuable you will use up any savings in buying drumsticks with the time it takes to cut and prep the meat.  Drumsticks are great finger food fresh from the grill, but there is a reason you don’t see boneless legs at the supermarket.  They have a lot of tendons and ligaments you have to cut out and around.  And you don’t really get a lot of meat in the process.  The turkey drumsticks are better because they have a lot more meat, but the tendons are thicker and tougher so it’s a bit of a wash.  I don’t think I would use them again for sausage, although I love the flavor and price.

2. You might want to skin the fatback first.
Poultry meat doesn’t have a lot of fat and you really do need fat to make a good sausage.  So typically you will add some extra fat and pork fatback is a great solid fat that works well.  I got my fatback from local farmers raising pastured hogs and it’s beautiful stuff.  But I started cutting it up without thinking about the fact that it still had the skin on.  Sometimes you want the skin on when you are cooking certain cuts because it cooks up nice and crispy.  But not for sausage and it’s a pain to cut skin off a bunch of little pieces of diced fat.  Ask me how I know….. Much easier to skin the whole thing first.

3. If stuffing is overly hard, you’re doing it wrong
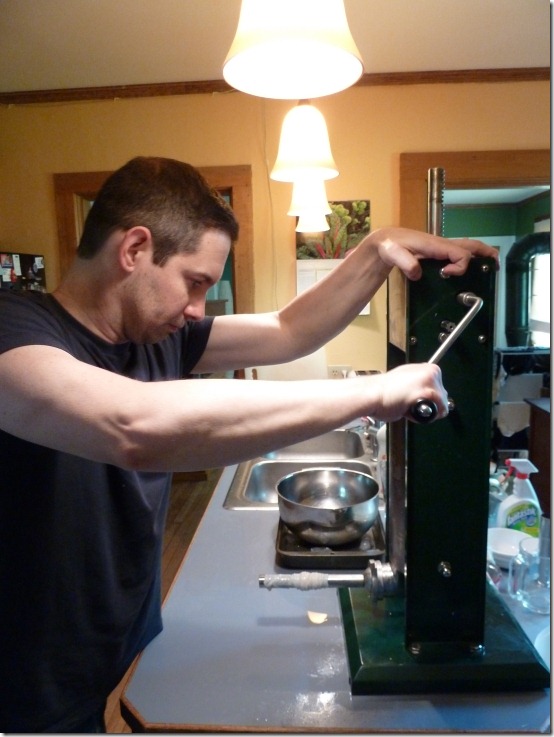
This was the first time I had tried stuffing sausages and I figured it would be a bit tricky. I got a decent 5 lb. vertical stuffer, so I have good equipment for small batches. I used standard natural casings in the medium size that is most commonly used.

stuffing

Preparing to stuff

Going to have to tell on myself a little bit here. By the time it came to stuff the first batch, it was pretty late on a Friday night and I wasn’t too with it anymore.  So I didn’t bother reviewing the right way to use the stuffer.  I asked Kristin for help and started the stuffing.  It would go along fine for the length of a couple of links and then pressure would start building up and the casing would split. We were both getting very frustrated and Kristin actually tried to tell me I should try it a different way, but I didn’t get what she was saying.

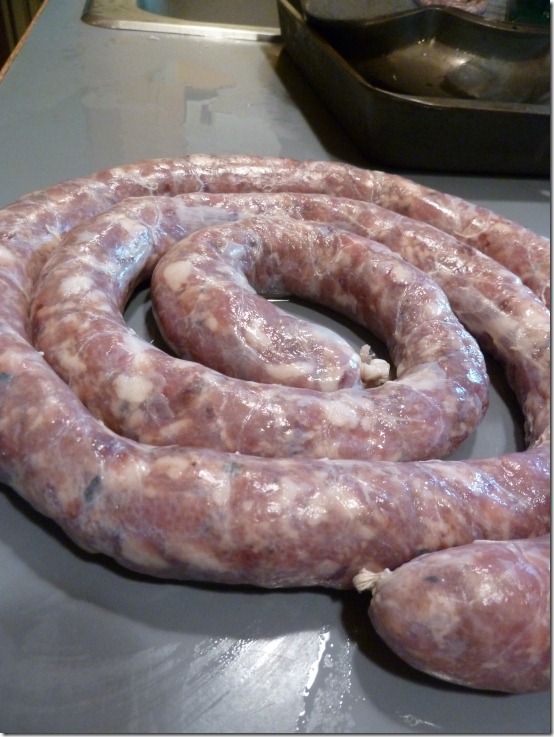
So the next day I decided to go online and figure out if I was doing something wrong.  Sure enough, that was the problem. Here’s what I was doing.  I was feeding just a bit of the casing on the tube and then trying to push the mixture down through the casing.  WRONG! You are supposed to put the WHOLE casing on the tube, tie off the end and then let the mixture feed in and push the casing off the tube. Works so much easier when you do it right.  We tried this on the second batch the next day and it was a world of difference. We stuffed the entire casing with no issues.

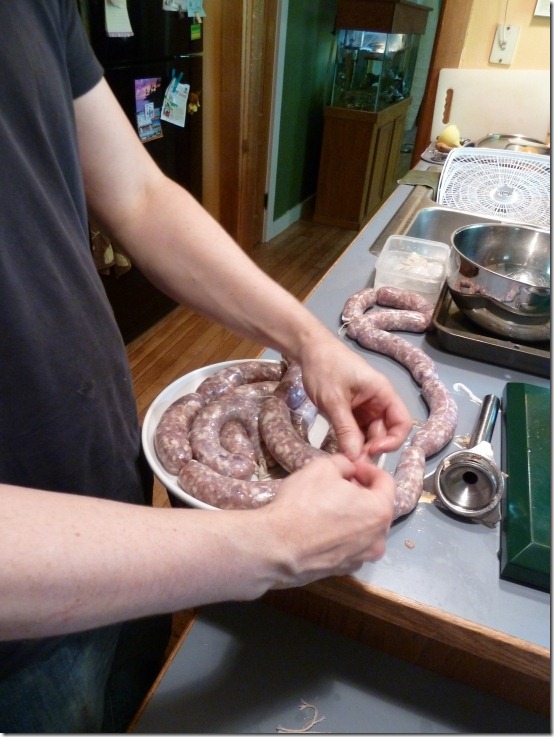
tieingTying off sausages after stuffing

4. Food dehydrator works well for pre-drying before smoking.
When you get ready to smoke something, you want the surface to be pretty dry and a little tacky. Basically the smoke needs something to stick to.  You can hang the sausages up for awhile at room temperature or inside a fridge or drying chamber.  There are various ways.  I was looking for a shortcut and we already have a food dehydrator.  So I got the thought that maybe I could use that to speed the process.  Checked online and apparently some other folks have tried this as well and it seemed to work.  So I gave it a shot and I think it worked pretty well.  You have to keep the temperature down and keep an eye on them, but I was pretty happy with this method.  We have the American Harvest square dehydrator with temp control and I like it a lot.

stuffedReady to Dry

5. Don’t do too much at once.
Since sausage making is pretty time consuming, it’s good to do a bunch at a time.  But doing two different 5 pound batches is a bit challenging, particularly when you are stuffing and smoking all of it.  And when I was smoking the sausages, I really had the smoker way too overloaded.  Some sausages got too hot and others were a bit slow. Not enough airflow and it was difficult to get them all up to temp.  So if I did it again, I would probably just smoke some of them and keep the rest as fresh sausages.


So all in all, I learned a lot from this round of sausage making.  And the sausages turned out great, although I think we like the chicken ones a little better.  They are right up there with some of the really good ones I’ve had like the Aidell’s version.  Not sure what we’ll try next, but each time the process seems to make a little more sense and go a little more smoothly. 

Here is the finished product:

finished2

finished